 Last additions |
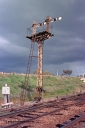
103-09830 viewsSpringhurst, semaphore signal post 4 with the top of the dolls cut off and the signal for the Wahgunyah line, standard gauge flyover on bank, point rodding, looking south from No.2 Rd.Aug 12, 1990
|
|
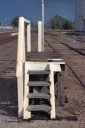
103-08743 viewsSpringhurst station yard view, staff exchange platform, elevation from access stairs, platform on the left and silo complex on the right, between No.2 and 3 Roads.Aug 12, 1990
|
|
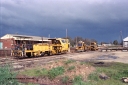
103-07815 viewsSpringhurst V/Line broad gauge Plasser 07-16B Production Tamper or track tamper with V/Line asset number 6-52-013, an unidentified ballast regulator and a Tamper CSC-2 crib and shoulder compactor with V/Line asset number 6-57-008, track machines.Aug 12, 1990
|
|
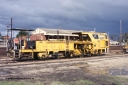
103-06805 viewsSpringhurst V/Line broad gauge Plasser 07-16B Production Tamper or track tamper with V/Line asset number 6-52-013.Aug 12, 1990
|
|
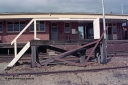
103-05775 viewsSpringhurst station building overview, staff exchange platform and walkway across tracks, apparatus set up gauge, signal levers visible in windows, staff exchange box on station wall.Aug 12, 1990
|
|
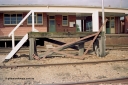
103-04812 viewsSpringhurst station building overview, staff exchange platform and walkway across tracks, apparatus set up gauge, signal levers visible in windows, staff exchange box on station wall.Aug 12, 1990
|
|
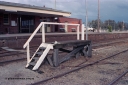
103-03793 viewsSpringhurst station building overview, staff exchange platform and walkway across tracks, apparatus set up gauge laying on No.3 Rd.Aug 12, 1990
|
|
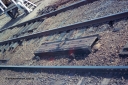
103-01795 viewsSpringhurst automatic staff exchanger cover in-between broad gauge running lines, point rodding under tracks.Aug 12, 1990
|
|
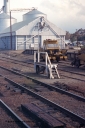
103-02796 viewsSpringhurst yard view, staff exchange platform, auto exchanger cover, point rodding, tamper, silo complex and bunker, loading platform.Aug 12, 1990
|
|
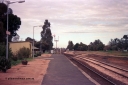
102-23808 viewsRed Cliffs station and yard overview looking south.Jun 09, 1990
|
|

102-18796 viewsHattah Lakes view of lake.Jun 09, 1990
|
|
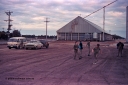
102-16859 viewsDumosa station, view of the horizontal grain bunker.Jun 09, 1990
|
|
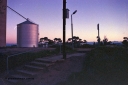
102-15840 viewsSpeed station platform access, annex silo for Geelong style complex.Jun 09, 1990
|
|
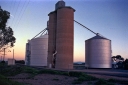
102-14870 viewsSpeed, Geelong style with annex and Ascom style silo complexes, overview track side, looking north.Jun 09, 1990
|
|
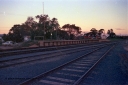
102-13839 viewsSpeed station yard overview, platform, building removed, radio repeater in distant background.Jun 09, 1990
|
|
102-12859 viewsSpeed radio repeater site.Jun 09, 1990
|
|
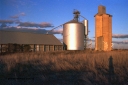
102-11877 viewsGama, Geelong style and Ascom silo complex with horizontal grain bunker, overview, track side.Jun 09, 1990
|
|
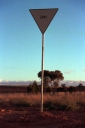
102-10831 viewsGama location sign.Jun 09, 1990
|
|

102-09853 viewsWoomelang station building overview.Jun 09, 1990
|
|
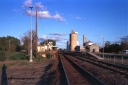
102-08825 viewsWoomelang station yard overview, original platform on left is for up trains, platform at right on No. 2 Rd looks new and is for down trains, looking south, Geelong style and new and old style Ascom silo complexes and goods and super phosphate sheds in distance.Jun 09, 1990
|
|
| 19447 files on 973 page(s) |
 |
|
|
|
|
|
|
|
|
|
|
|
|
|
|
972 |
|
 Login


