 Most viewed - 0195 |

195-021097 viewsMunjina, end of Roy Hill Road where it meets the Great Northern Highway, Toyota HJ75 Landcruiser, loaded up to the max, it has a 13 leaf spring pack on the rear, 9 on the front, PTO winch, in route to Wittenoom.
|
|
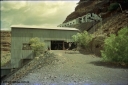
195-37886 viewsWittenoom Gorge, Australian Blue Asbestos or ABA Colonial Mill, view of primary crushing building, shows metal slide chute from upper lever were the waggons are emptied, top building is the underground offices, change rooms etc.
|
|
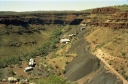
195-15869 viewsWittenoom, view from the Devil's Staircase of Colonial Mill and Mine with piles of tailings, the building and yard at the bottom of the frame is the warehouse or store and gated yard with the workshop being the larger of the two, the buildings at the top level are the locomotive and underground mining offices and workshops, with the crusher and milling and bagging plant using gravity to its advantage.
|
|

195-04862 viewsGreat Northern Highway, oversize load of dump truck and dump body.
|
|

195-16795 viewsWittenoom, view from the Devil's Staircase of Colonial Mill and Mine with piles of tailings, milling site overview, looking south, railway workshops and underground offices are the higher buildings, then the primary crushing shed, holding silo, down to the mill and then the bag house and associated sheds, tailings line the gorge side.
|
|
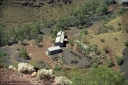
195-17786 viewsWittenoom Gorge, Australian Blue Asbestos or ABA Colonial Mill view of stores or warehouse building and fenced yard and the maintenance workshop shed.
|
|
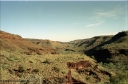
195-14779 viewsWittenoom, Bee Gorge, view from top of cat walk looking south towards Karijini National Park.
|
|
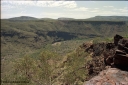
195-18767 viewsWittenoom Gorge, view looking south down the gorge, the Colonial Mine is on the right and not visible behind the rock. The former market garden area can be just seen at the bottom left of image as Bolitho Rd cuts through the middle.
|
|
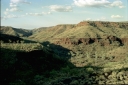
195-06751 viewsWittenoom, Bee Gorge, view from top of cat walk looking north, track can be made out in the bottom of gorge.
|
|
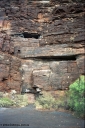
195-31731 viewsWittenoom, West Gorge, Australian Blue Asbestos or ABA Colonial Mine, sealed up underground drive adit or entry no. 30, shows area where seams have been cut out from the rock face.
|
|
195-03730 viewsGreat Northern Highway, oversize load of dump truck and dump body.
|
|
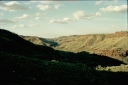
195-08728 viewsWittenoom, Bee Gorge, view from top of cat walk looking north.
|
|
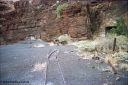
195-30727 viewsWittenoom, West Gorge, Australian Blue Asbestos or ABA Colonial Mine, sealed up underground drive adits or entry points 27, 28 and 29, shows tramway tracks and points for entry into adit 29, entries have been sealed closed.
|
|
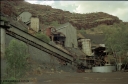
195-27721 viewsWittenoom Gorge, Australian Blue Asbestos or ABA Colonial Mill, view looking up past the drier level with the crusher building at the top.
|
|
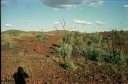
195-10718 viewsWittenoom, top of Bee Gorge, snappy gums and ant hills.
|
|
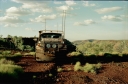
195-13716 viewsWittenoom, top of Bee Gorge looking north, Toyota HJ75 Landcruiser.
|
|
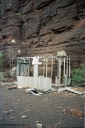
195-32710 viewsWittenoom, West Gorge, Australian Blue Asbestos or ABA Colonial Mine, remains of a building on the adit level adjacent to no. 30.
|
|

195-01709 viewsMunjina, end of Roy Hill Road where it meets the Great Northern Highway, Toyota HJ75 Landcruiser, loaded up to the max, it has a 13 leaf spring pack on the rear, 9 on the front, PTO winch, in route to Wittenoom.
|
|
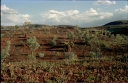
195-11704 viewsWittenoom, top of Bee Gorge, snappy gums and ant hills.
|
|
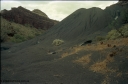
195-28696 viewsWittenoom Gorge, Australian Blue Asbestos or ABA Colonial Mill, view of tailings which weather has eroded over the roads, direction sign to Drier Level still visible.
|
|
|
|
 Login


